Website : Design and Documentation
Setting up Gitlab
We have decided to share all our content on a Google drive, which we set up before the beginning of the assignment. We also set up a What's App group to stay in touch.
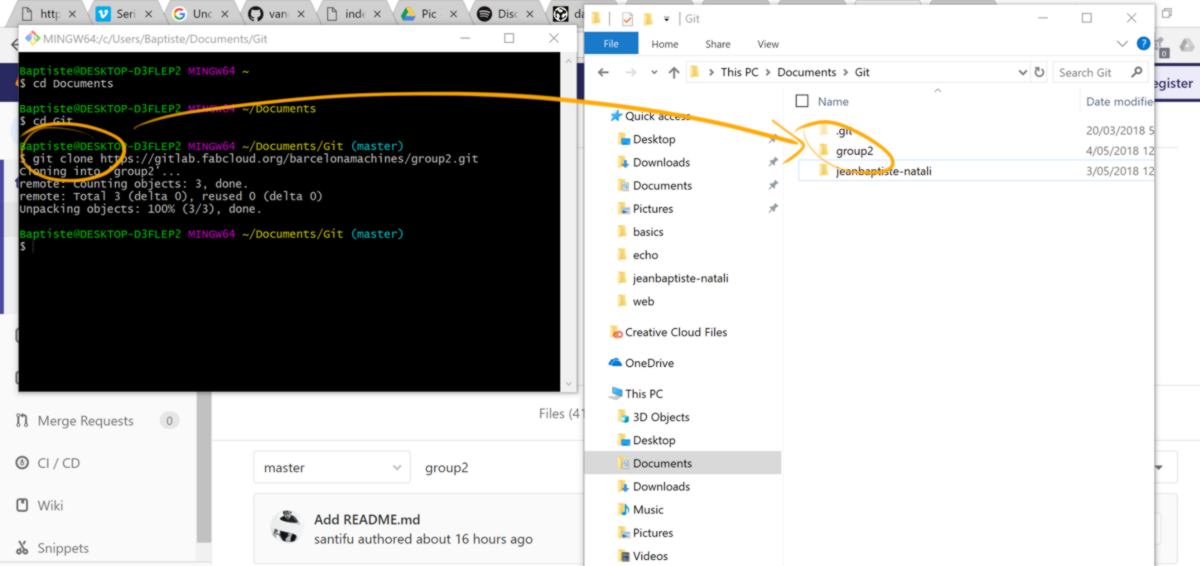
The first step to building the website is to set up the Gitlab. We clone the folder that our instructor set up:
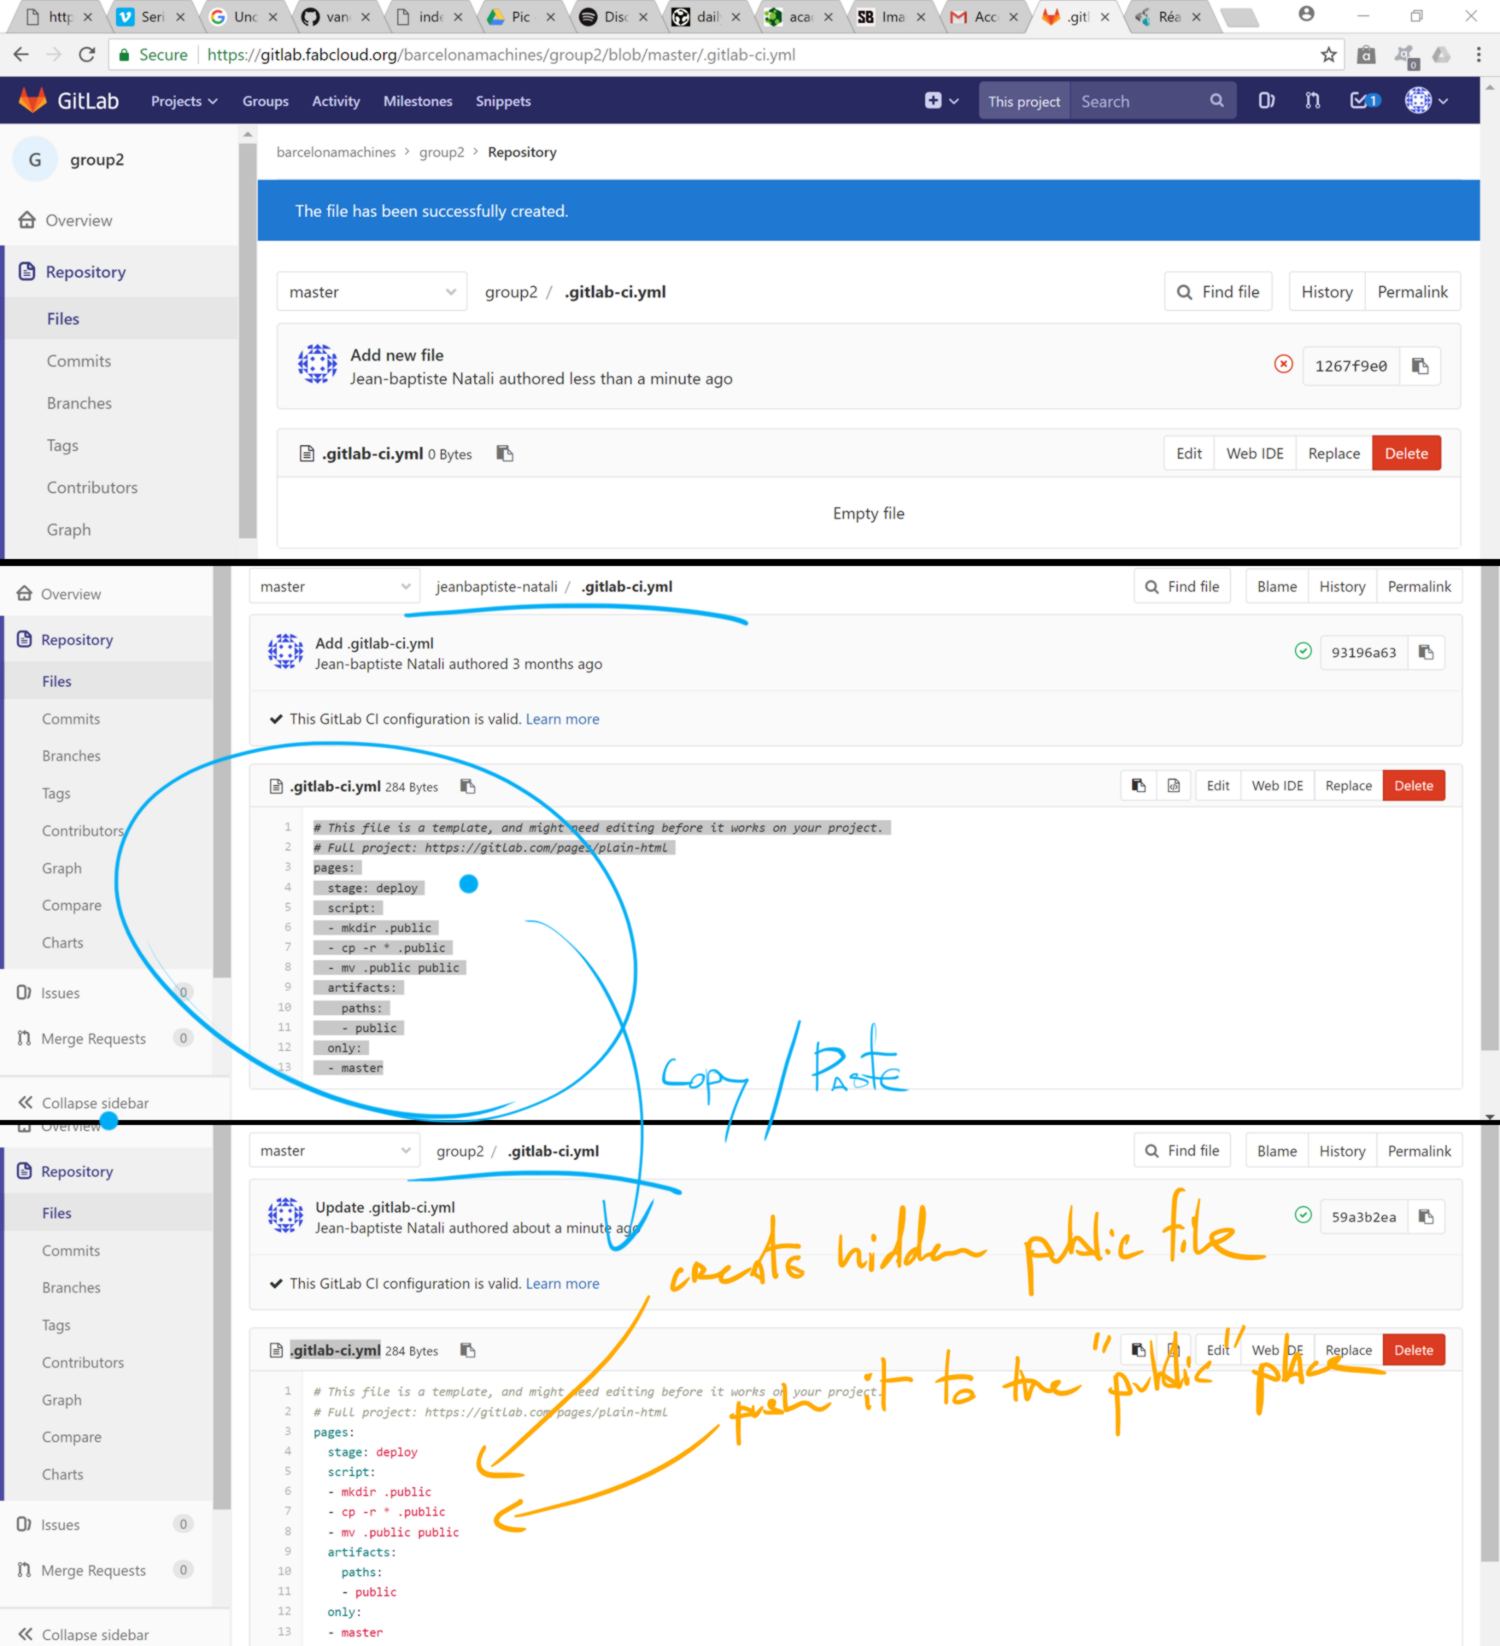
We then create a .yml file. this file will enable continuous implementation of several branches, version control and other features which facilitate collaboration. On the Gitlab web browser, I create a new file and specify the type as a .yml file. I then populate it, copying the .yml file that is currently on my personal fab academy Gitlab and pasting it:
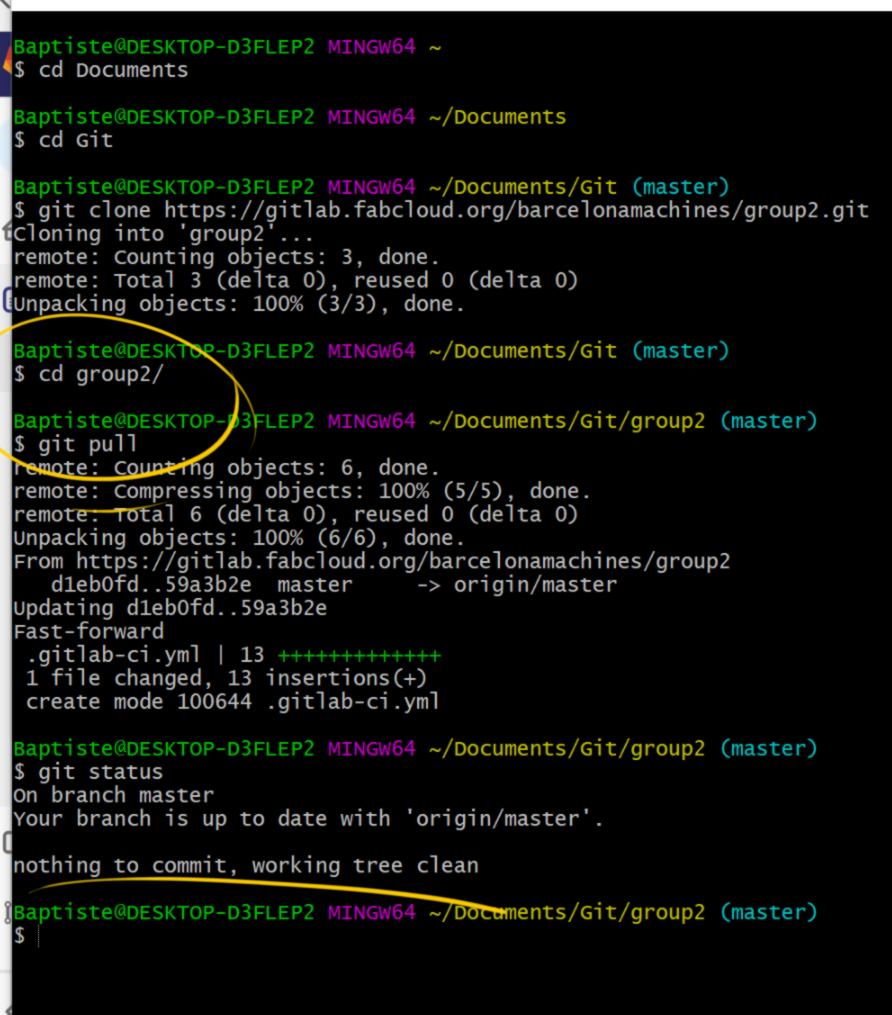
Then the whole team pulls the new files :
We are now testing the push/pull/merge options direclty in Atom. I will push a change in the index.htlm file, then Javi will make change without previously puling any changes, and attempt to commit and push them :
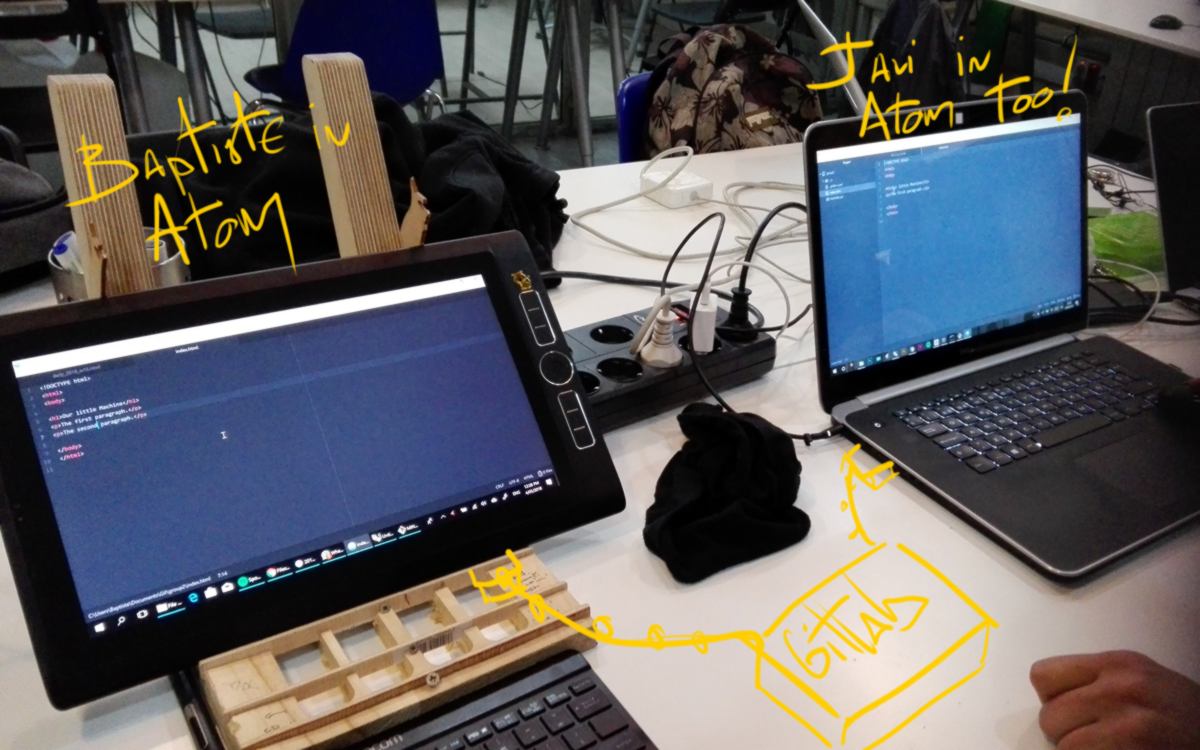
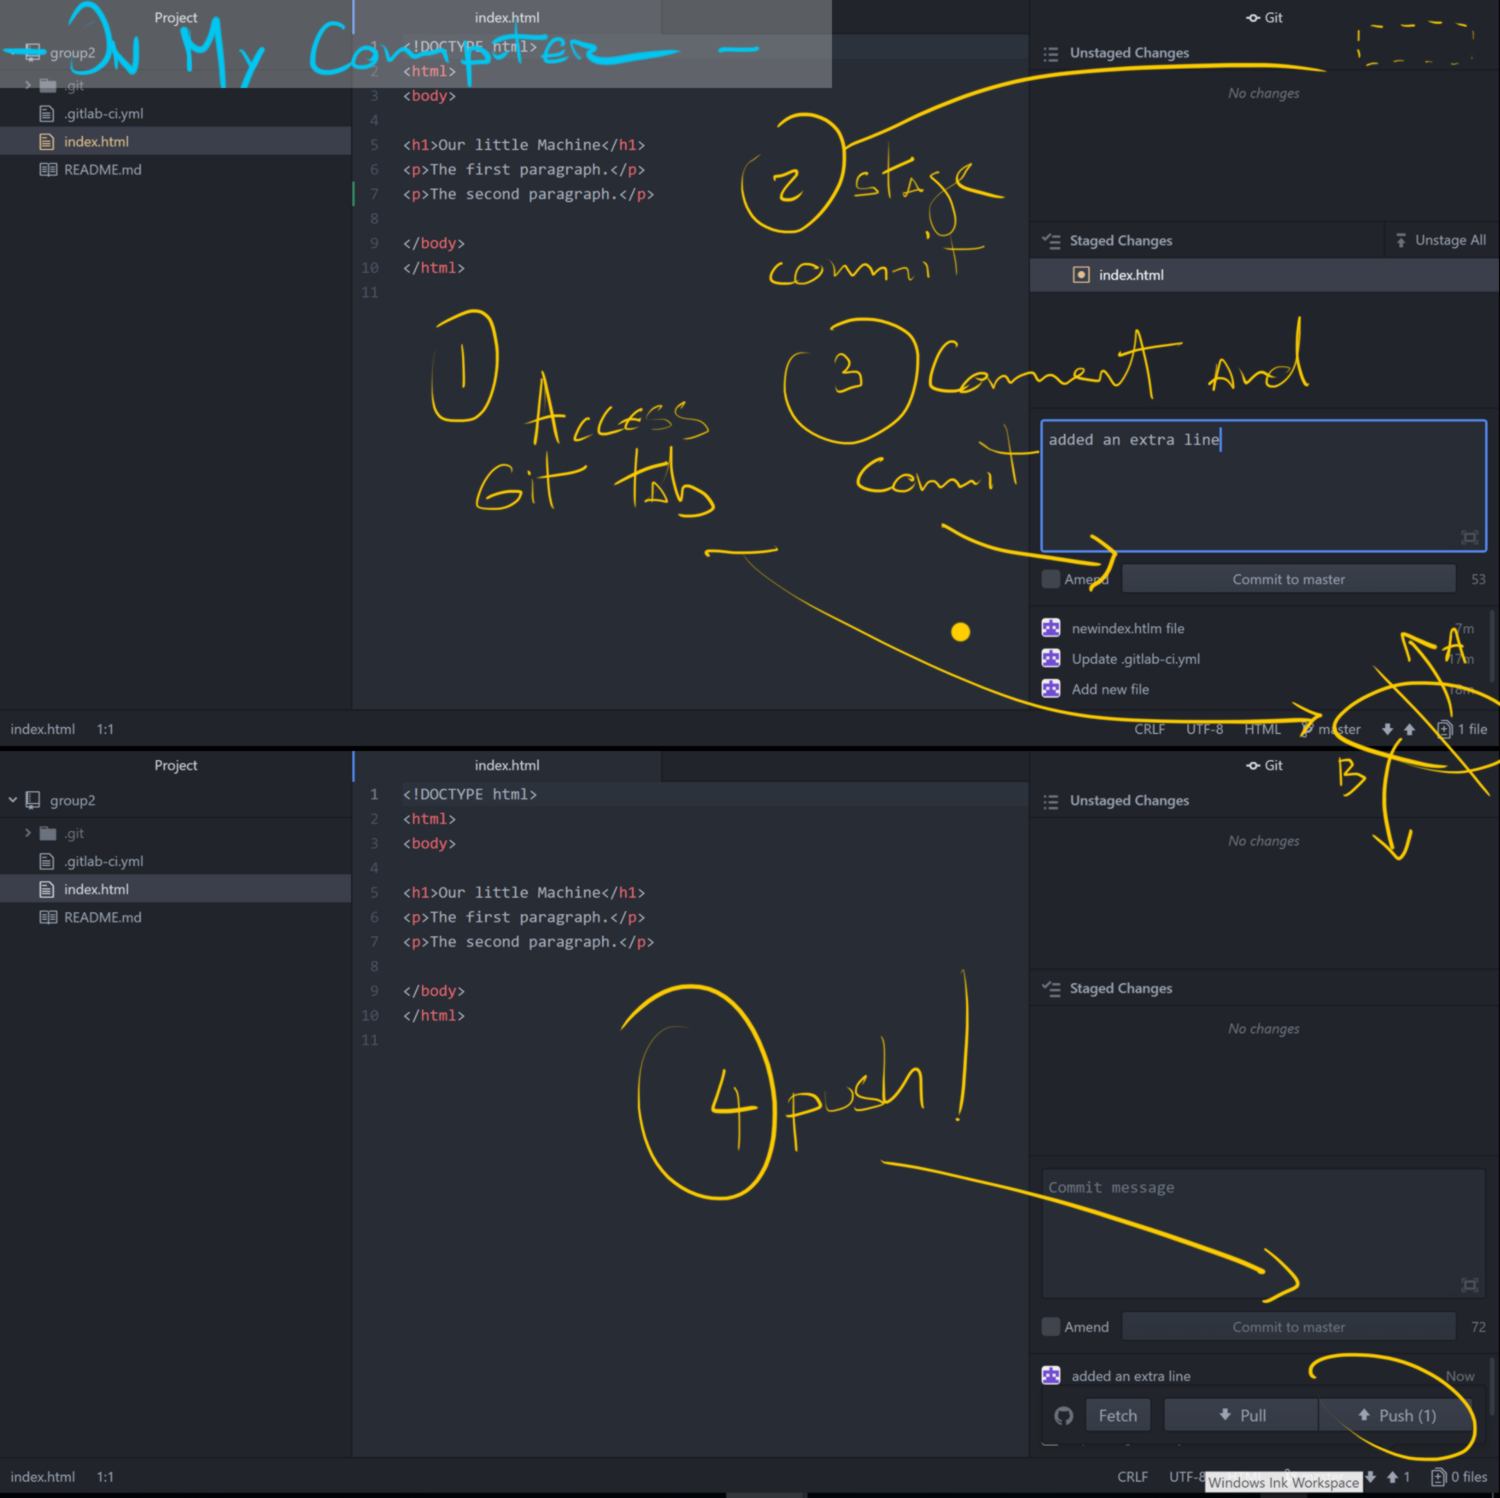

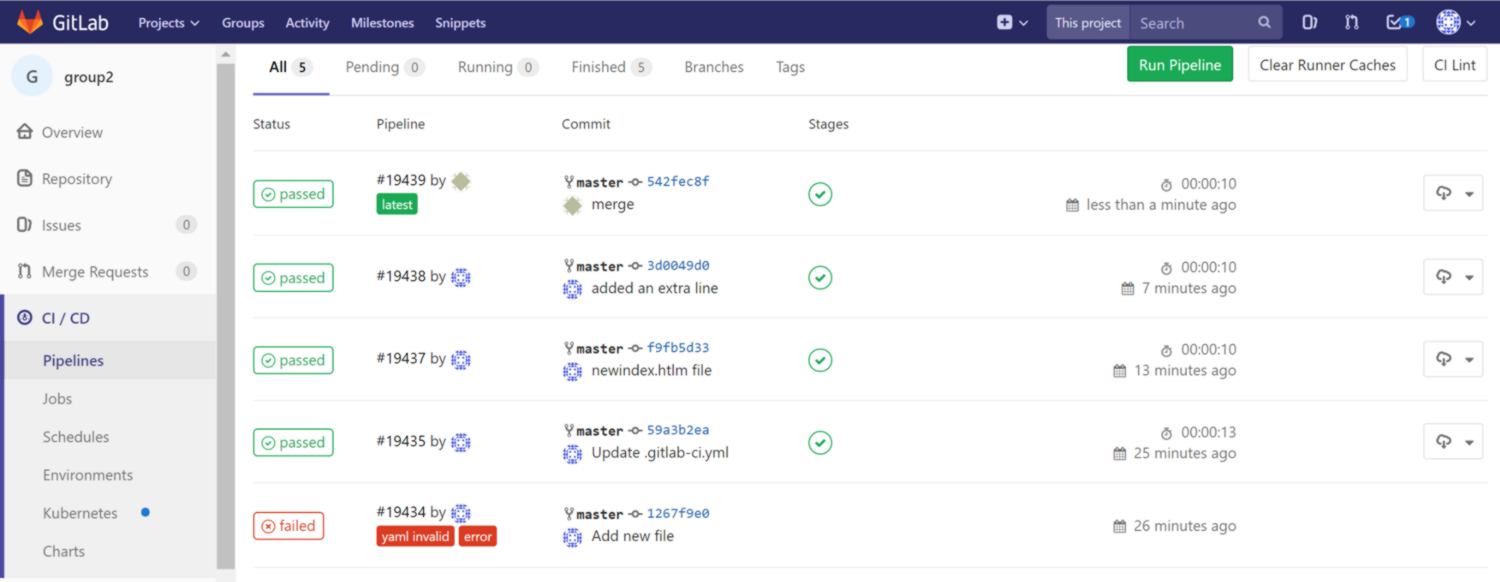
Javi then pull the new version and merges his line of code with mine. No work is lost, and all changes can be seen on the Gitlab web browser:

Alright, Gitlab is set up and ready to go!
Design
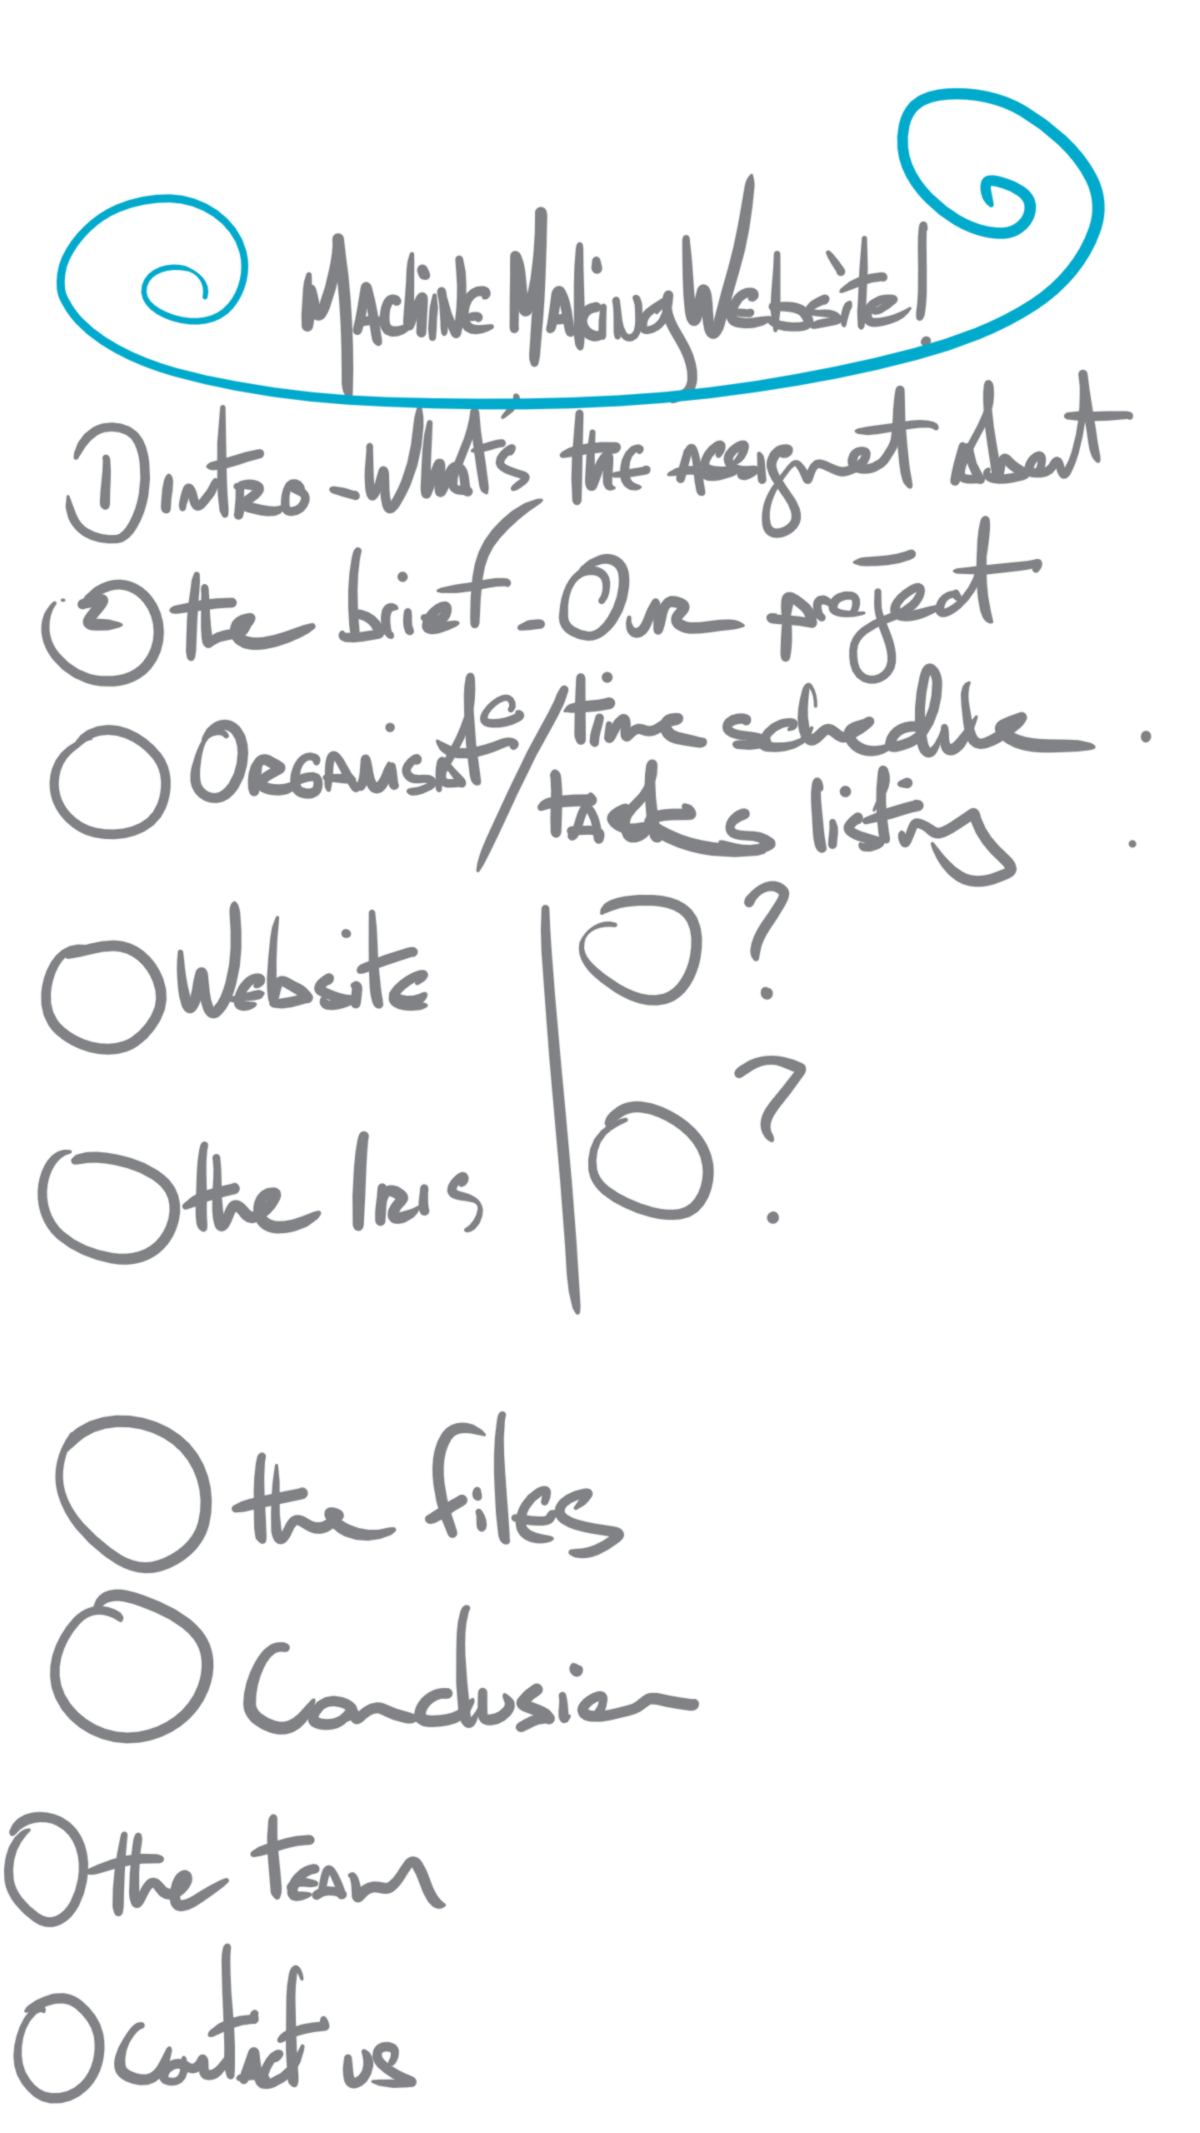
So now, I am going to make a website. Wow! Quick planification :
We build the website using a bootstrap template from Creative Tim. We personnaly thank the team behind this template and highly recommend them. From a technical perspective, Bootstrap offers responsive design so regardless of the device, viewers will have have good time scrolling through the website.
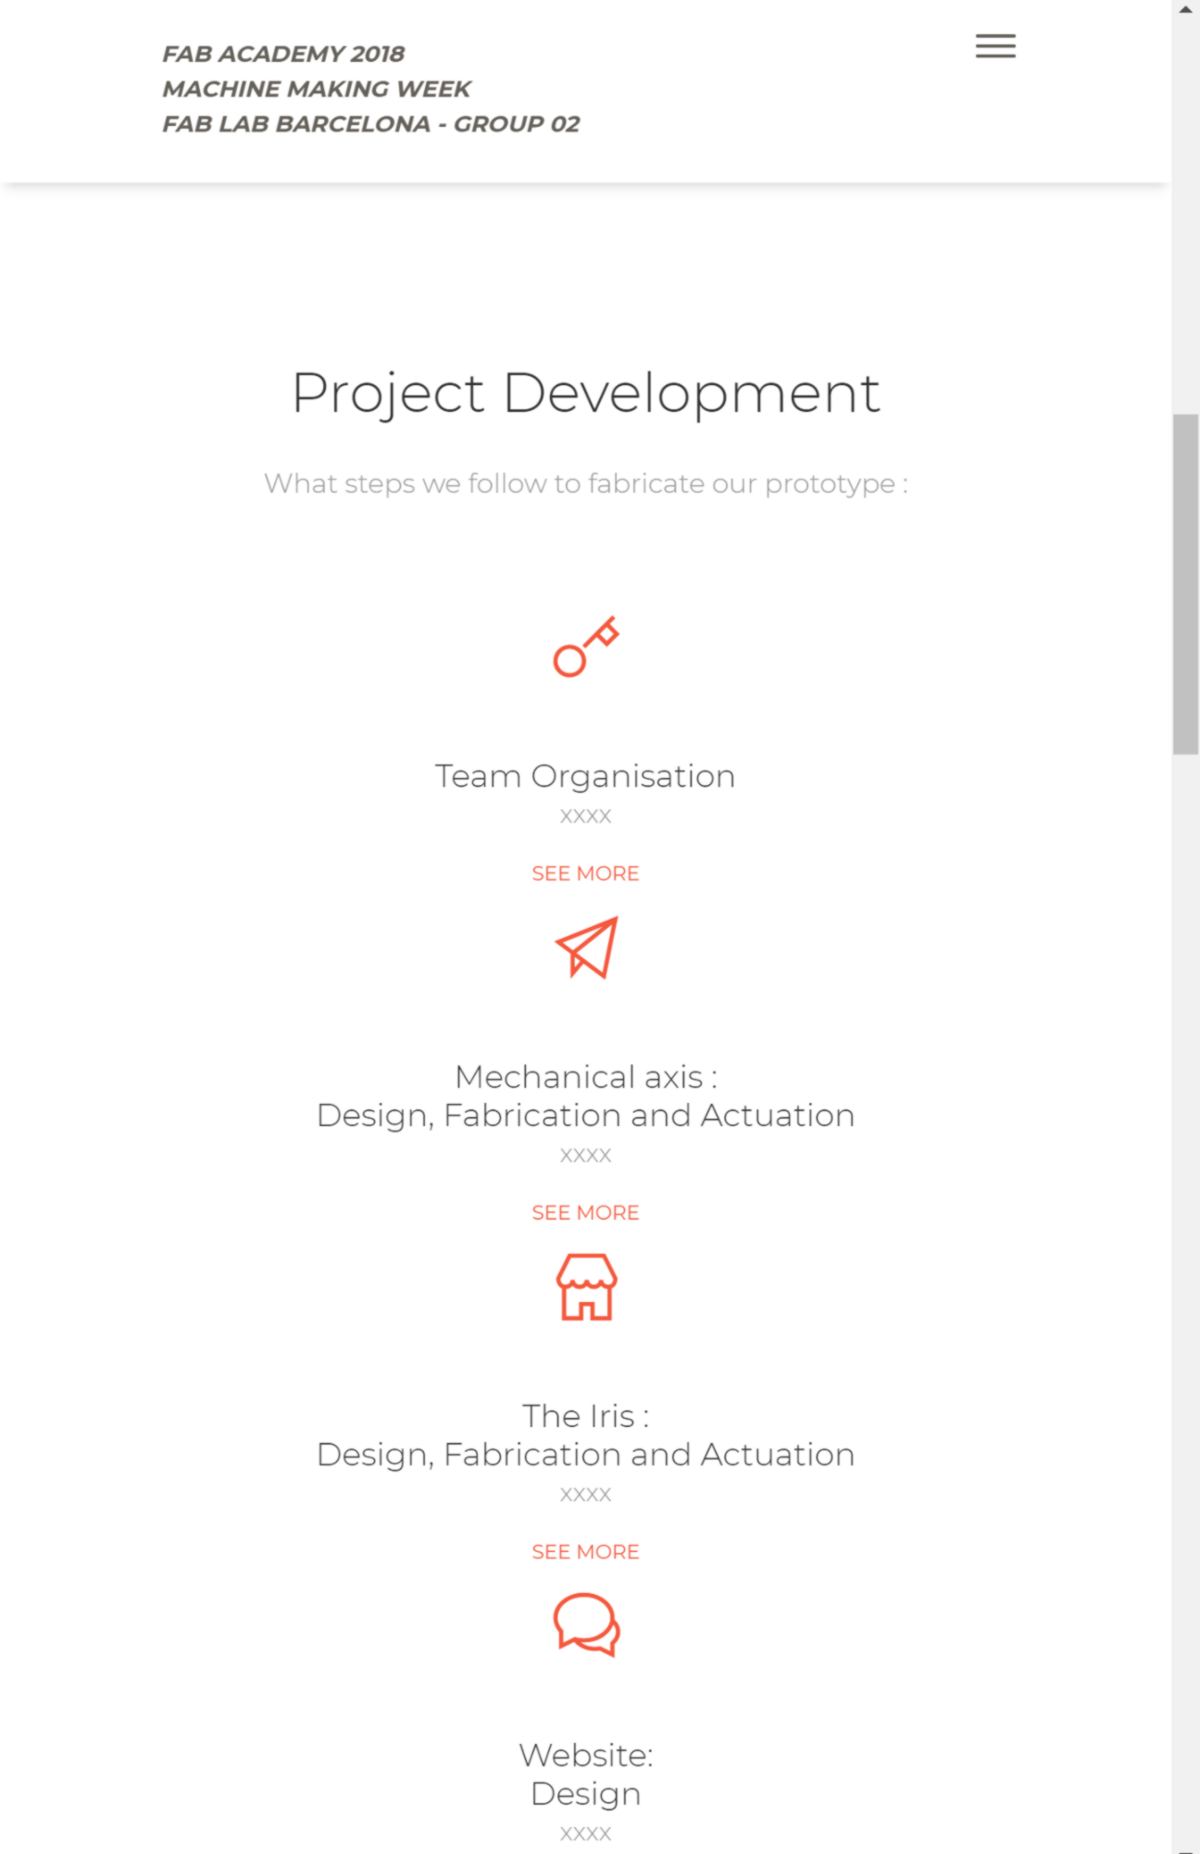
We add a basic navigation bar. At first,with too many items, the nav bar looks too cluttered and the icons do not align with the text. So we simplify the menu. We then make the "team" section, gathering pictures from the local fab lab barcelona Gitlab. We make sure all links point at their respective fab academy website.
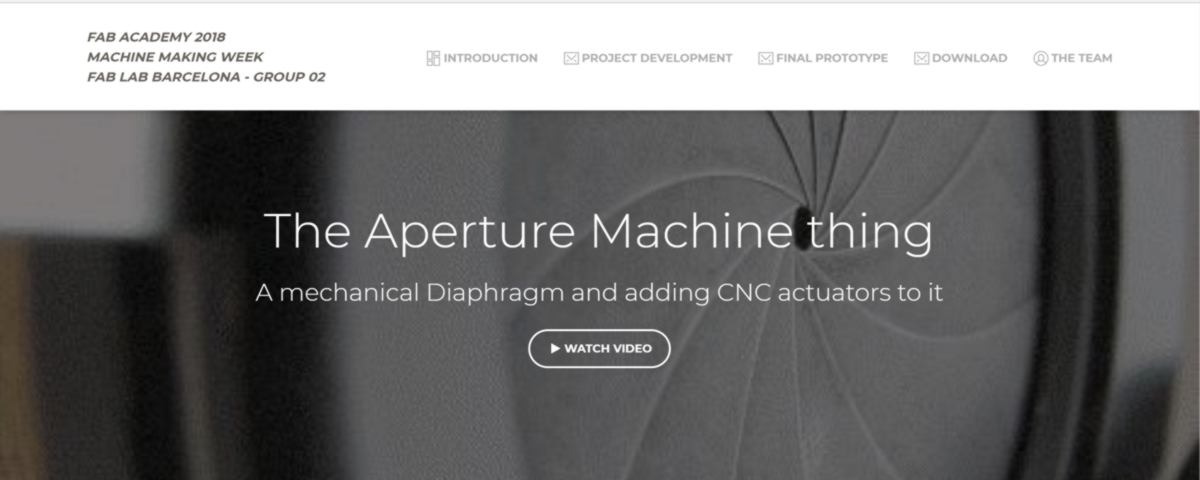
We build each section separately. We create a new css sheet to add extra style to capitalise section of paragraph, for instance. Quickly the landing page comes together :
We push it to the Git repository but get a warning message :
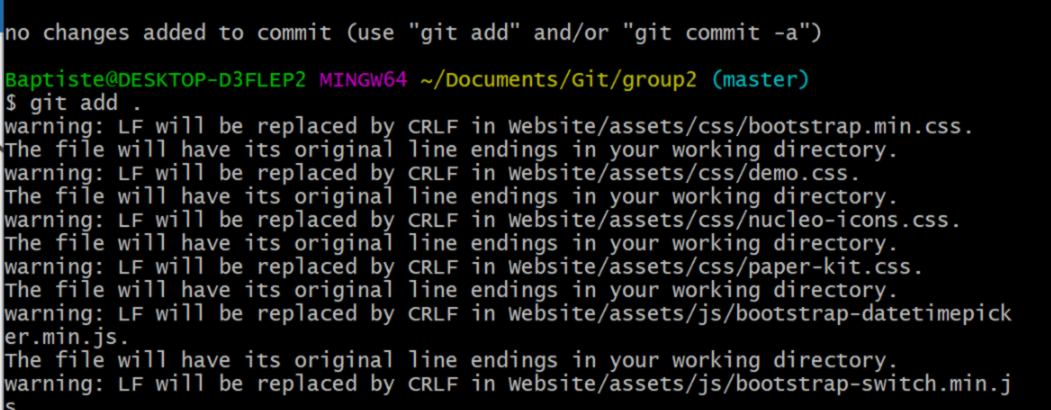
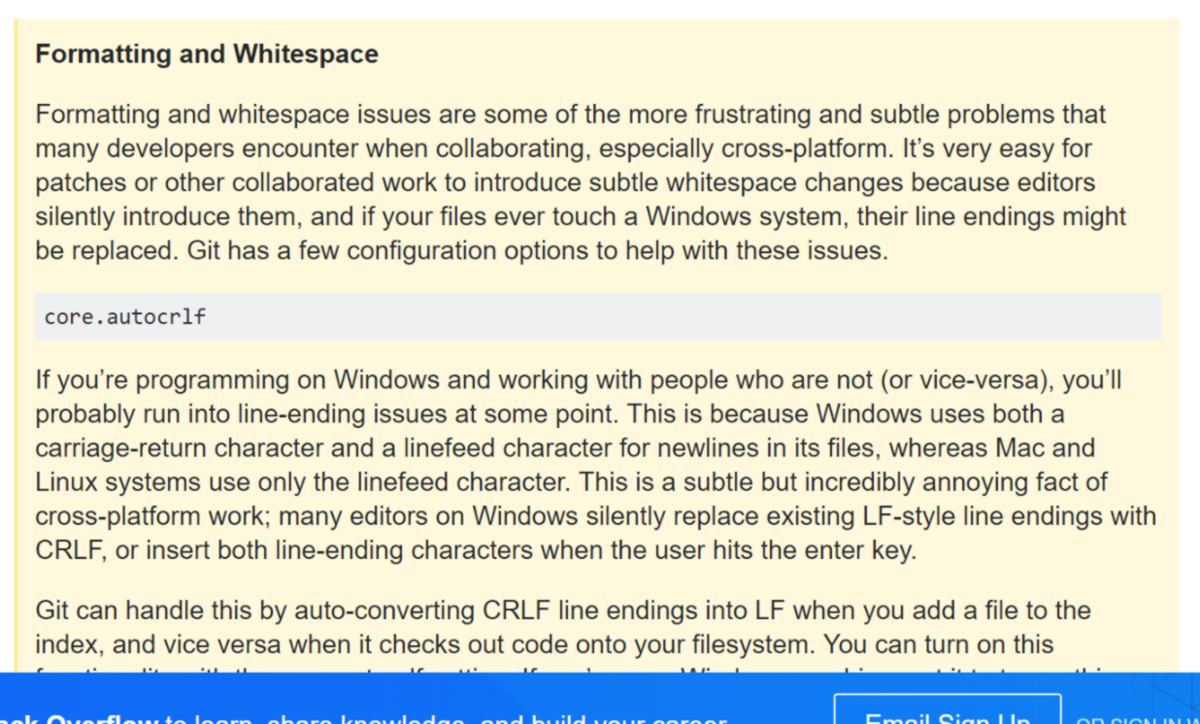
It turns into a good lesson about cross-platform collaboration and its difficulties :
The skeleton of the website it built, and ready to host some content!
Documentation
Near the end of our assignment we are looking forward to document it all and update the website, so we can send it to some friends all across the globe for testing purposes. we gather some documentation from our personal website as well as from the Google drive previously set up, and populate two new htlm sub-webpages, proofreading texts and editing pictures as we add new elements in. Paragraphs are spread across the different pages, titles and sub-titles are added, the white background is changed for a grey-ish color, less brutal to the eye, and some videos are uploaded to Youtube so we do not have to host them on Gitlab, making the folder lighter.
We keep on refering to the paper kit website to add element using the correct class name, round the corners of each picture, select the right font size and type and so on.
We also update many details on the main page : description of each team member, images, writing the introduction, proofreading the rest of the text, and adding relevant link in the footer of the webpage. I finally upload my own part of the website - website design - and send a call for all other members get some documentation together so I can fill some gaps.